
Everything contractors and homeowners need to know, from surface prep and coping adhesion to laying pavers and sealing transition joints around a pool.
Watch the full installation in the video above before diving into the steps below.
Installing pool coping and the pavers around it looks straightforward, until you're on the job and the details start stacking up. The right adhesive, the right gap, the right sealant sequence: each one is a small decision that makes a big difference in how the finished install holds up over time.
This guide covers the full process: surface preparation, coping adhesion, transition joints, laying pavers around a free-form pool, and the finishing details that separate a clean result from one that causes problems in year two. Whether you're a landscape contractor quoting a pool surround project or a homeowner trying to understand what proper pool coping installation involves, this is the complete picture.
Choosing the Right Products for a Pool Surround
Product selection around a pool isn't just about aesthetics, it's about workability. Free-form pools in particular create curves and tight transitions that make large-format slabs impractical.
On this project, we used Villagio pavers for both the sailor course around the pool coping and the area around the fire pit, keeping visual continuity across the space. Here's why Villagio worked where other products wouldn't:
- Aberdeen slabs are too large for this application. Making cuts in and around a free-form pool with a large-format slab is difficult and time-consuming.
- Portofino coping has a deeply natural texture. Getting large slab units tight against that profile demands significant labor, cuts that a smaller paver handles far more efficiently.
Villagio's smaller format and beveled edges allow it to follow curves and transitions naturally, with minimal cutting.
For the coping itself, the Techo-Bloc Bullnose Grande is worth highlighting. Its polished texture blends beautifully with surrounding materials, and its built-in spacer bar prevents chipping during installation, a practical advantage that saves time and avoids callbacks.
Instalación de cubiertas de piscina
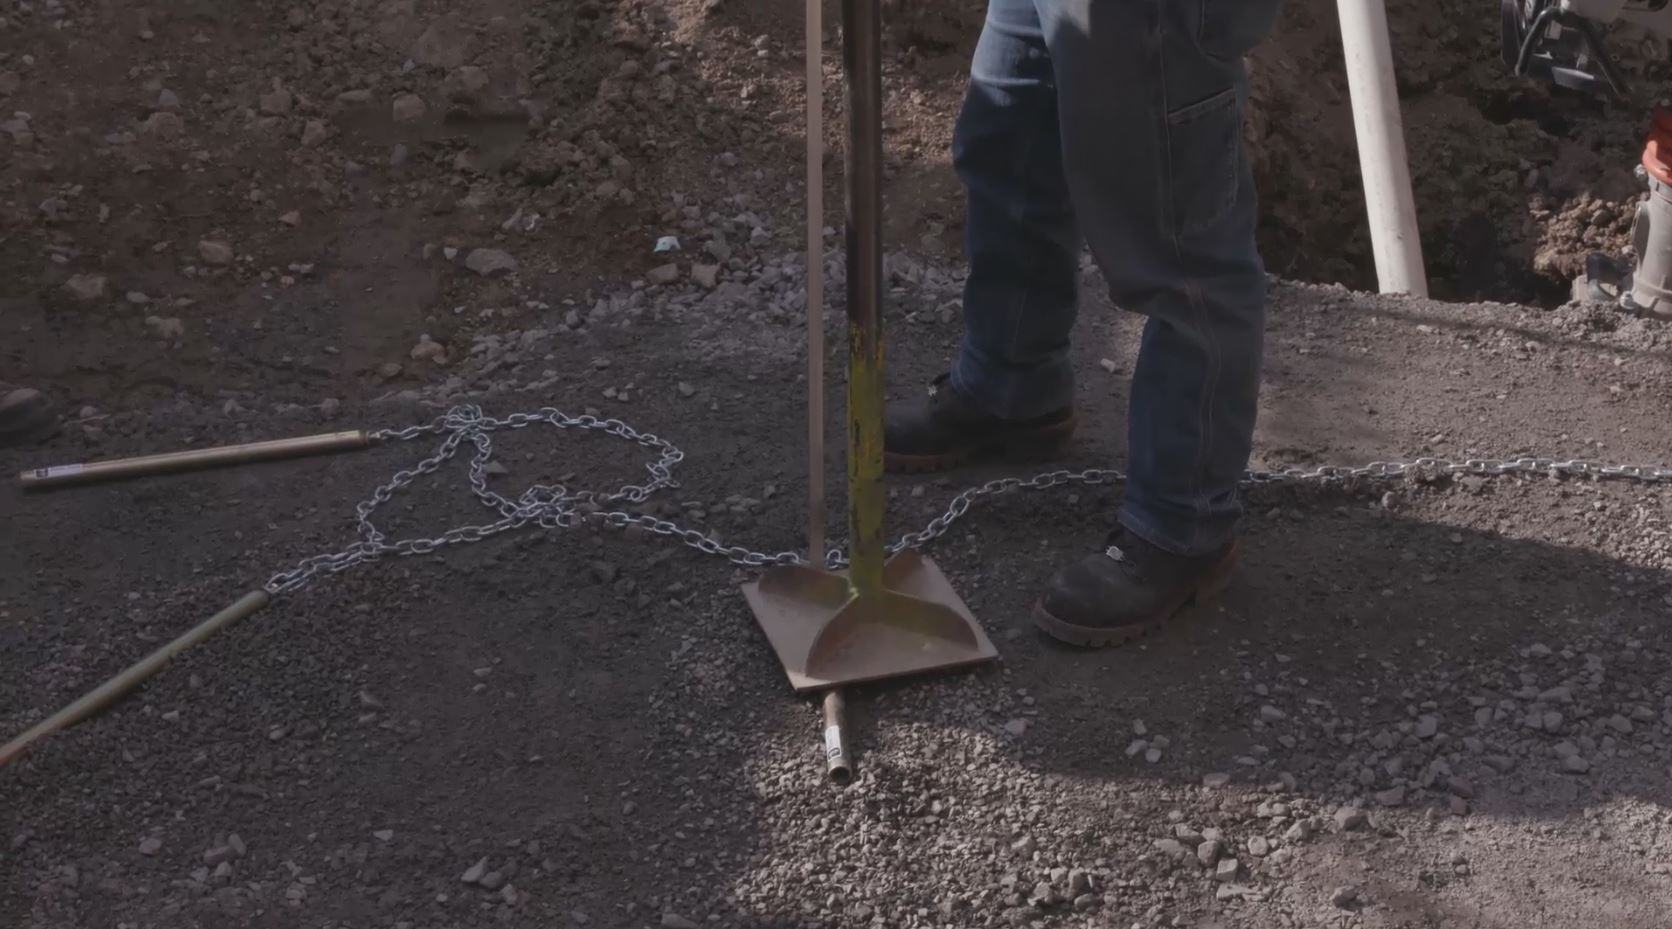
Step 1: Grind Out Imperfections
Any high spots, residue, or surface irregularities on the pool bond beam need to be ground down before coping goes on. Dustless grinding technology keeps the site cleaner, improves efficiency, and protects the pool water during the process.
Step 2: Inspect the Copper Bonding Cables
Before any coping is installed, inspect the pool's copper bonding cables, junction box, and plastic steps. Coping installation that disrupts bonding cables creates a serious safety issue and a difficult repair.
Step 3: Clean Both Surfaces
Sponge off the pool surround and the underside of each coping unit. Dust, residue, and moisture on either surface will compromise adhesion. This step takes a few minutes and prevents failures that take days to fix.
Step 4: Apply Adhesive and Set the Coping
Two adhesive options work well here, each with different trade-offs:
| Adhesive | Properties | Best For |
|---|---|---|
| Mortar | Buildable, inflexible, very strong | Situations requiring height adjustment; note that mortar can cause efflorescence |
| Flexlock | Polyurethane-based, fast-setting, hydraulic | Most installs; bonds quickly and handles moisture well |
Transition Joints
The joint between the coping and the pool surround needs to be both waterproof and flexible. A rigid fill here will crack, the pool shell and the surrounding hardscape move independently, and the joint has to accommodate that.
Step 1: Insert a Foam Backer Rod
Press the foam backer rod into the joint before applying sealant. This reduces the volume of caulk required, without it, you'll burn through roughly a tube of sealant every three or four pieces of coping.
Step 2: Apply Self-Leveling Caulk
Run self-leveling caulk over the foam rod to create a waterproof, flexible seal. Self-leveling sealant finds its own level in the joint, creating a clean finish without tooling.
Trick of the trade: Before applying caulk, run a strip of painter's tape along the coping edge. Any overflow peels away cleanly with the tape, no scraping, no solvent cleanup, no residue on the finished surface.
Step 3 (Optional): Add Joint Fill Material for Appearance
If you want the transition joint to match the appearance of the surrounding joints, sprinkle joint fill material over the fresh caulk. Two options depending on the application:
- Polymeric sand for standard interlocking concrete paver and slab installs
- Aqua Rock by Alliance for permeable paving applications where water needs to move freely through the joints
Laying Pavers Around the Pool Coping
With the coping installed and joints sealed, the next phase is setting the sailor course — the row of pavers that runs immediately adjacent to the coping, and the broader paver field around the pool.
Step 1: Gap the Pavers Away from the Coping
Don't butt the pavers directly against the coping. Leave a consistent gap between the paver field and the coping units around the entire perimeter.
Why? During freeze-thaw cycles, pavers shift. If they're tight against the coping, that movement transfers directly into the coping units, pushing them out of position. Repairing displaced pool coping is a significant job. Leaving the right gap prevents it entirely.
Maintaining a consistent gap around a free-form pool adds complexity, but it's one of those details that determines whether the install looks right and holds up long-term.
Step 2: Insert Foam Backer Rod in the Gap
Fill the gap between the pavers and coping with a foam backer rod before sealing. The rod acts as a filler, its job is to reduce the amount of sealant required to fill the seam, not to absorb freeze-thaw movement.
Without the backer rod, you'll use roughly a tube of self-leveling sealant every three or four pavers. With it, sealant goes much further.
Step 3: Apply Self-Leveling Caulk Over the Backer Rod
Finish the seam with self-leveling caulk applied over the foam rod. The goal is to keep surface water sheeting off the paver field rather than running into the gap and into the bedding layer.
A free-draining setting bed ensures any water that does reach the bedding layer will drain properly, but keeping water on the surface and directing it away is always the cleaner solution.
Painter's tape tip applies here too: Tape the coping edge before applying caulk. Peel for a clean line with zero cleanup.
Key Takeaways
- Product selection matters for free-form pools. Smaller-format pavers like Villagio handle curves and tight transitions that large slabs can't without excessive cutting.
- Surface prep determines adhesion. Grind, inspect, and clean before any coping goes down, shortcuts here show up as failures later.
- Always gap pavers away from coping. Direct contact leads to freeze-thaw damage that's hard to repair. A consistent gap with a sealed joint is the right detail.
- Foam backer rod first, then sealant. This sequence applies at both the coping transition joint and the paver-to-coping gap, it saves sealant and produces a better result.
- Painter's tape is your best friend on sealant work. It takes 30 seconds and eliminates cleanup on finished coping surfaces.
Frequently Asked Questions
What is pool coping and why does it matter? Pool coping is the cap material installed along the top edge of the pool shell. It creates a finished edge between the pool wall and the surrounding hardscape, protects the pool structure from water infiltration, and provides a safe, comfortable surface for swimmers getting in and out of the water.
What is the best adhesive for pool coping installation? It depends on the project. Mortar is strong and buildable, useful when you need height adjustment, but it can cause efflorescence and is inflexible. Flexlock (polyurethane-based) bonds quickly, handles moisture well, and is the go-to choice for most installations. Consult your product's installation guide for the specific recommendation.
Why do you leave a gap between pavers and pool coping? Pavers and coping move independently during freeze-thaw cycles. If pavers are installed tight against the coping, that movement transfers into the coping units and can displace them. A sealed gap with a foam backer rod and self-leveling caulk accommodates that movement without damaging either material.
What is a foam backer rod used for in hardscape installation? A foam backer rod is a flexible foam cylinder pressed into a joint before sealant is applied. It reduces the volume of the joint so less sealant is needed, and it provides a backing surface that helps the sealant cure properly. It doesn't function as an expansion joint, its role is to make the sealant application more efficient and effective.
What pavers work best around a free-form pool? Smaller-format pavers with beveled edges, like Villagio, work best around free-form pools because they follow curves naturally with minimal cutting. Large-format slabs require significantly more cutting and fitting, especially where the pool edge changes direction frequently.
What is a sailor course in paver installation? A sailor course is a single row of pavers laid lengthwise as a transition or accent element. Around a pool, it's typically the row immediately adjacent to the coping, creating a clean visual boundary between the coping and the broader paver field.
Can you use polymeric sand around a pool? Yes, polymeric sand works well for standard paver joints around a pool surround. For the transition joint between pavers and coping, use a self-leveling caulk instead, that joint needs to be both waterproof and flexible. For permeable paving applications, Aqua Rock by Alliance is an alternative that allows water to move freely through joints.
Ready to explore pool coping options for your next project? Discover the full Techo-Bloc pool coping collection.